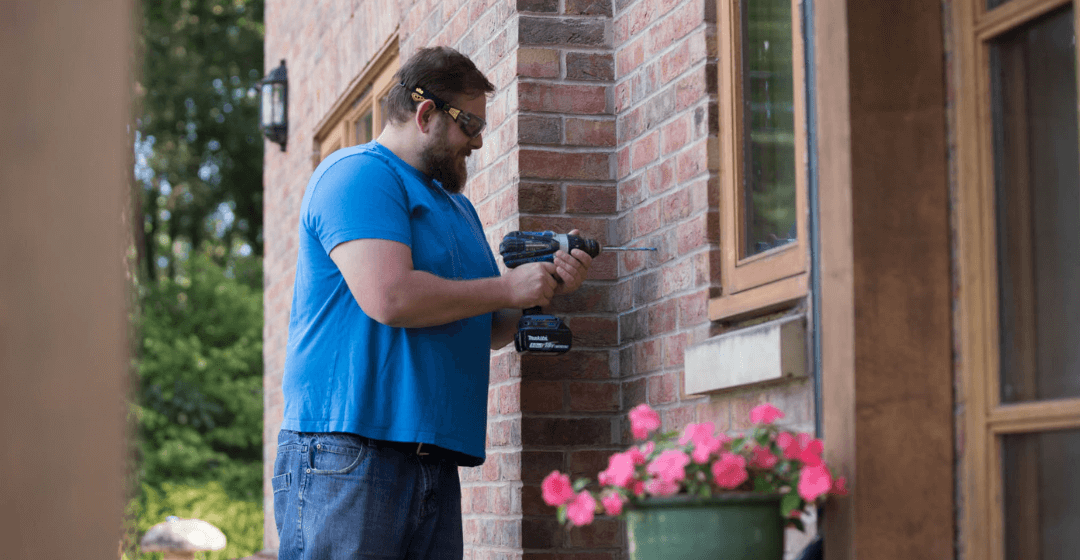
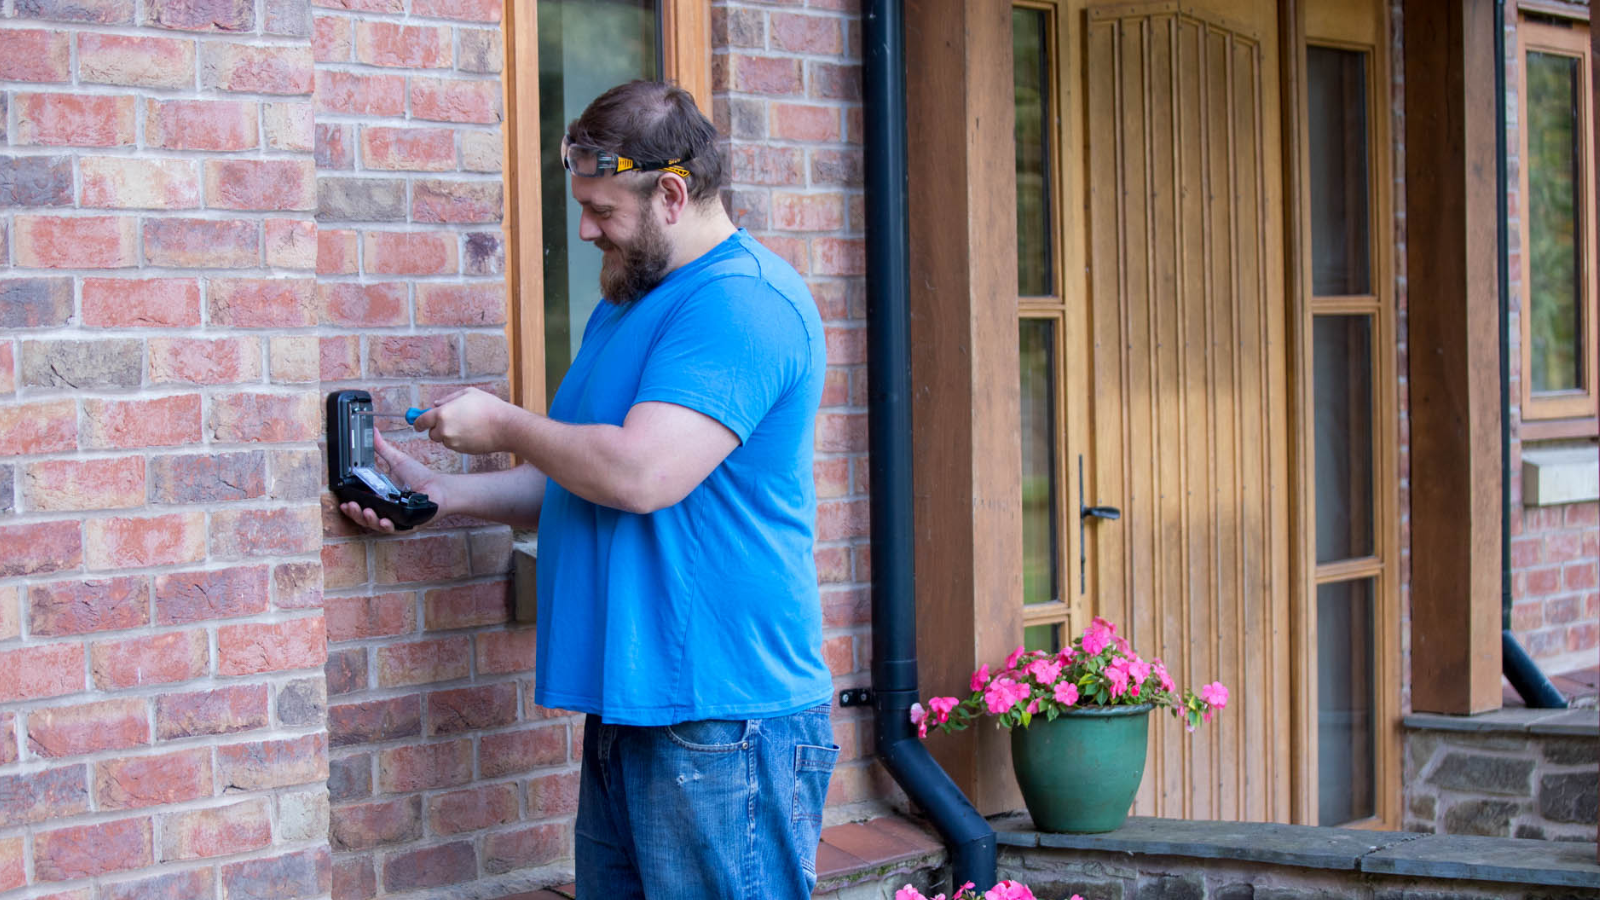
Our key safes are easy to install if you are comfortable with home DIY - and we provide everything you need to get started.
Products
DIY Installation Guide
Our key safes are easy to install if you are comfortable with home DIY - and we provide everything you need to get started.

When installing your ark Tamo™ key safe you will need the following:
If you are installing your ark Tamo™ key safe onto brick or concrete then you will need the below -
ark Tamo Keysafe (Brick or concrete)
If you are installing your ark Tamo™ key safe onto a rendered wall (excluding pebble dash) then you will need the below -
ark Tamo™ key safe (Render)
ark Tamo™ comes with standard brickwork fixings. If you are fitting Tamo to a rendered wall, you will need our ark Tamo™ Wall Plug Fitting Kit and ark Tamo KeySafe™ Fitting Pack for Rendered Walls.
Please note we do not recommend installing your key safe onto pebble dash substrate.
If you don't have any of the above items then you can purchase the relevant fitting kits below.
Tamo Pro comes with both Standard Screws and XL Screws, allowing you to decide on the level of security you want for your key safe.
Standard Screws offer a security rating of A10 when installed on brick, stone and concrete.
XL Screws offer a security rating of B1 and allow installation on brick, stone, concrete, and rendered walls.
Please note we do not recommend installing your key safe onto pebble dash substrate.
If you don't have any of the above items, you can purchase the relevant fitting kits below:
When installing your C500 Pro or P500 Pro Key Safe you will need the following:
If you are installing your C500 Pro or P500 Pro Key Safe onto brick or concrete then you will need the below -
Supra C500 Pro/P500 Pro Key Safe (brick or concrete)
We advise our customers not to install our Supra C500 Pro & P500 Pro Police Preferred key safes onto rendered walls as they are tested on brick and concrete only. If you have a rendered wall, we recommend our ark Tamo™ Maximum Security Key Safe.
Please note we do not recommend installing your key safe onto pebble dash substrate.
If you don't have any of the above items, you can purchase the relevant fitting kits below.
All of our key safes can be easily installed by a competent DIY’er.
Every key safe comes complete with a suitable fitting kit and a detailed user guide which explains how to mount the device onto a masonry surface correctly.
If you’d rather leave the installation to us, we offer a nationwide installation service at a small additional cost.
Our C500 & P500 Supra Police Accredited Key Safes are tested onto brick and concrete only. Our ark Tamo™ Maximum Security Key Safe would be suitable for installation into render, with the relevant render fitting kit, and the ark Tamo™ Pro can be installed on to render as standard.
*Please note we do not recommend installing onto pebble dash substrate.
Tamo comes with standard brickwork fixings. If you are fitting Tamo to a rendered wall, you will need our ark Tamo™ Wall Plug Fitting Kit and ark Tamo Key Safe Fitting Pack for Rendered Walls.
The Supra C500 and P500 Key Safes have been tested on standard house brick and concrete only. To maintain the LPS certificate and police accreditation, key safes must be installed into brick or concrete using the supplied fixings.
If the Supra P500 or C500 key safes are installed into another substrate, then the LPS accreditation is voided. The product is not necessarily less secure. However, the devices have not been tested on other materials.
If you wish to install a key safe into a different surface, then you will need to assess this risk and ensure the product is firmly fixed to the wall. The screws provided are designed for brick and concrete and potentially might not be able to cut their thread to secure a reliable enough grip. We are unable to recommend alternative fixings.
Furthermore, we recommend that you contact your property insurance company to advise them you have a Supra Police-Accredited key safe. This is to guarantee your policy is still intact.
*Please note that Key Safes are to be installed a minimum of 6 inches away from any edge of the wall.
Unfortunately, the fitting kits can’t be re-used. The four masonry screws supplied with our Police Preferred Key Safes cut their thread in the substrate on installation. The thread, therefore, would weaken on every install, making the key safe less secure.
If you’d like to move your key safe, please use new fixings to ensure maximum adherence to the wall.
Replacement Fitting Kits can be purchased via our website.
The correct size Torx head screwdriver bit (Torx T30) is available direct from The Key Safe Company website.
We recommend that all key safes are installed out of sight to minimise the risk of attracting attention. If necessary, the product can be placed more noticeably, but you will need to assess the risk yourself.
Ideally, it should be in a position that provides light for the user and allows ease of access to open the Keysafe and also for code management.
Please note that Key Safes are to be installed a minimum of 6 inches away from any edge of the wall.
It is a common misconception that a key safe generally stores a front door key, and therefore must be installed next to the front door.
The Supra Key Safe does not require a power supply, so can be positioned anywhere. This includes inside meter boxes, or at the rear of the property.
Ideally, it should be in a position of easy access to the user.
If you are not a confident DIY'er or simply don't have the time, no worries! We provide a seamless professional installation service.
The Key Safe Company have partnered with a trusted installation company that provide professional installations throughout the UK including Northern Ireland.
Find out more about our professional key safe installation service here.

Sign up to our newsletter for tips on how to look after your key safe